When it comes to web hosting, finding a provider that combines affordability, reliability, and ease of use can be challenging. Hostinger stands out as a popular choice for many due to its user-friendly interface and comprehensive features. In this article, we’ll guide you through the sign-up and setup process with Hostinger, ensuring that even if you’re new to web hosting, you can get your website online quickly and effortlessly.

Sign-Up Process: Signing up for Hostinger is straightforward and user-friendly. Here’s a step-by-step guide to getting started:
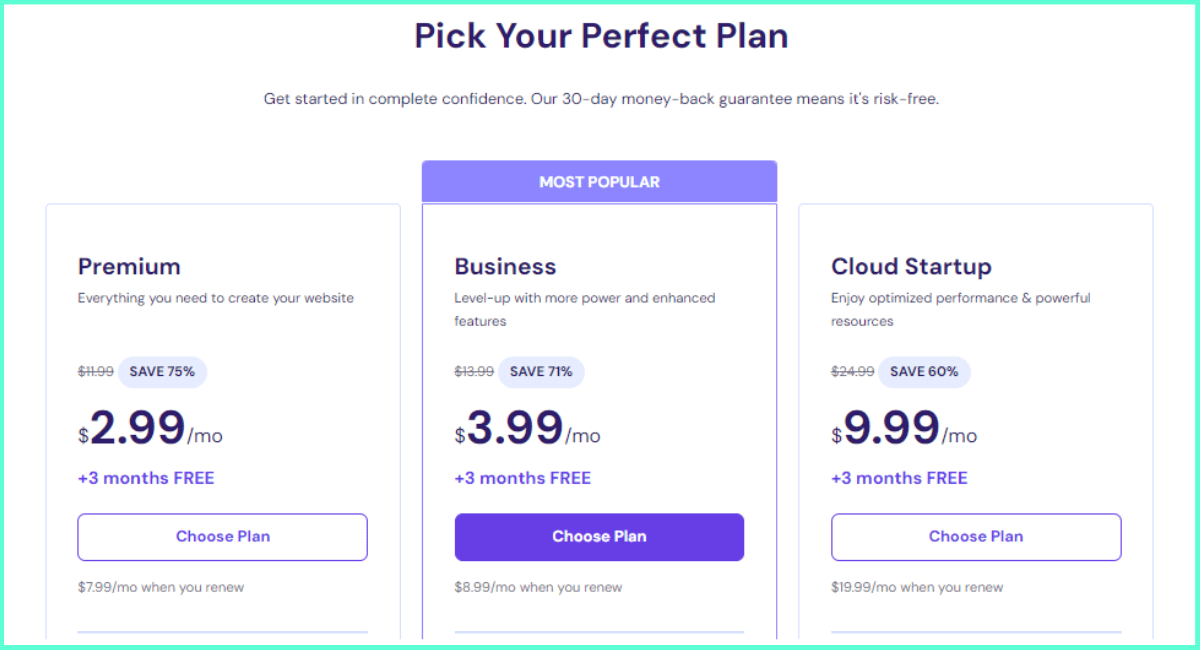
1. Visit Hostinger’s Website: Navigate to Hostinger’s homepage and choose the hosting plan that best suits your needs.

2. Select a Plan: Click on the “Choose Plan” button under your chosen plan. Hostinger offers various plans for shared, cloud, and VPS hosting.

3. Create an Account: You can create a new account using your email address, or you can sign up using your Google account for quicker registration.

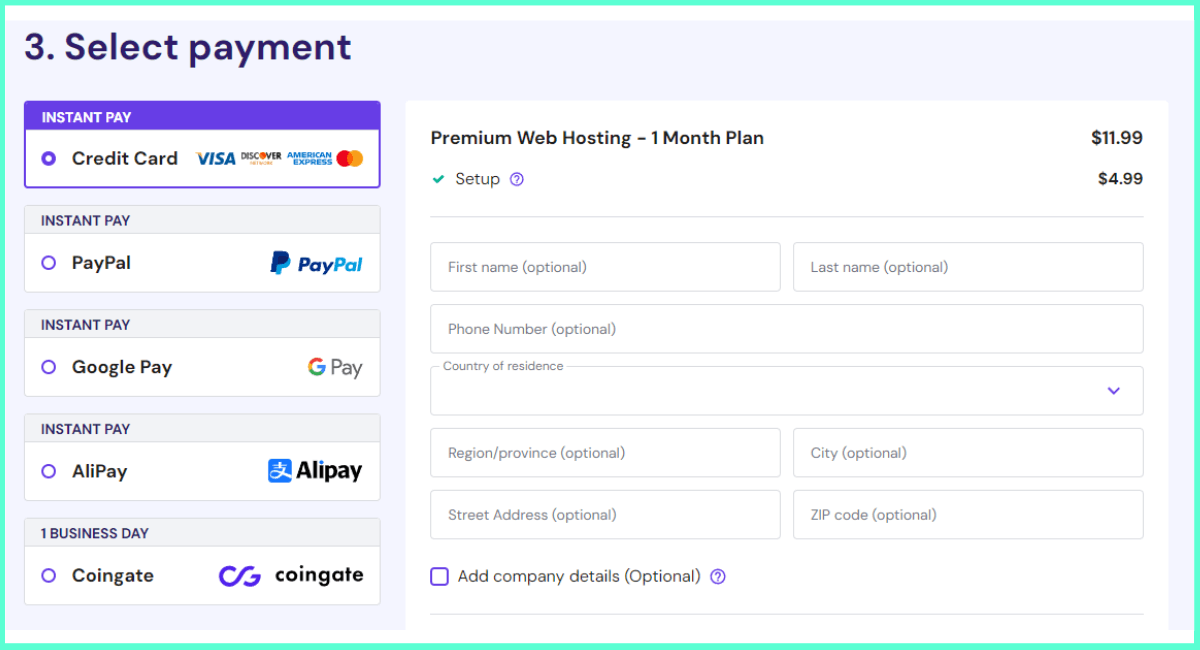
Checkout: Complete the payment process using one of the available payment methods (credit card, PayPal, etc.). Hostinger frequently offers promotional discounts, so look out for any available coupons or deals.

Setup Instructions:
Once you’ve completed the sign-up process, setting up your hosting account is also simple:
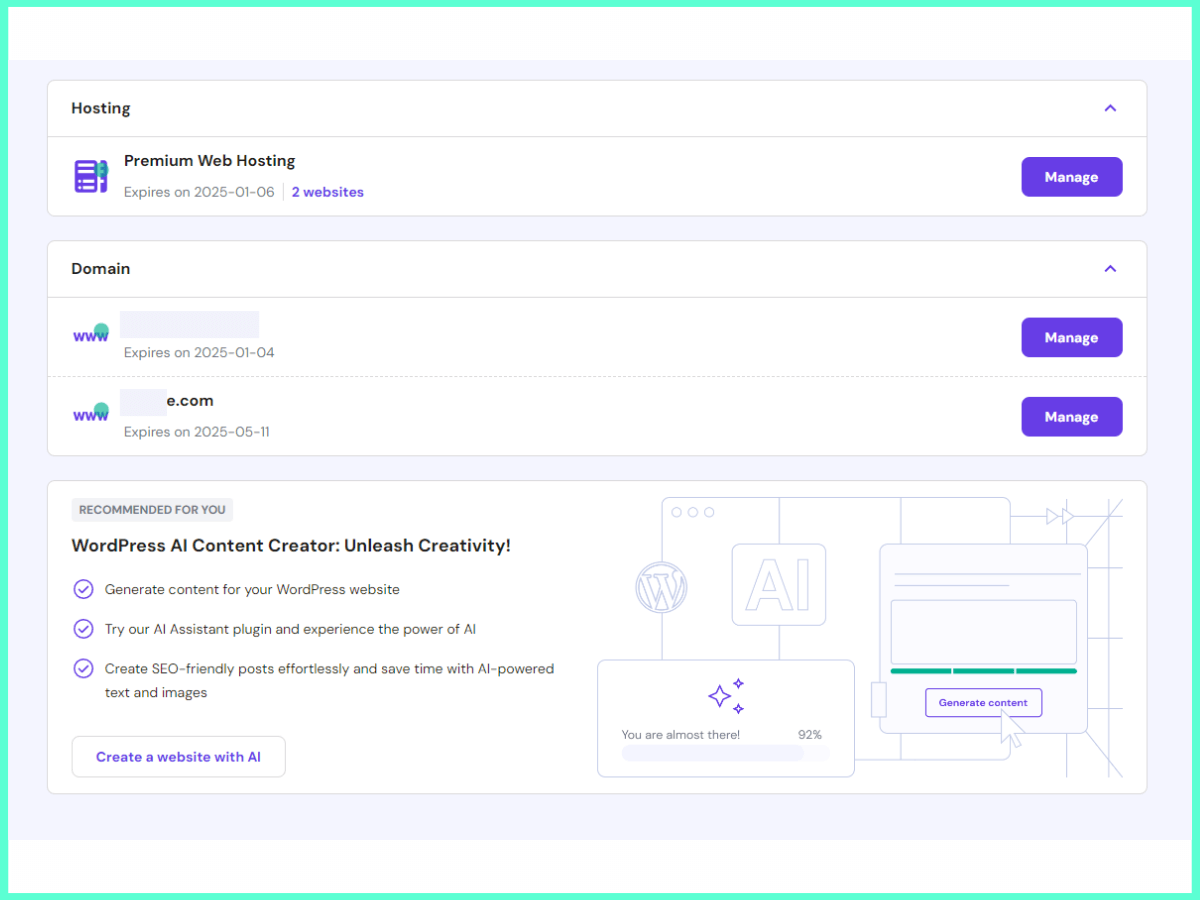
1. Access the Control Panel: After logging into your Hostinger account, you’ll be directed to the hPanel (Hostinger’s custom control panel). It’s designed to be intuitive and easy to navigate.

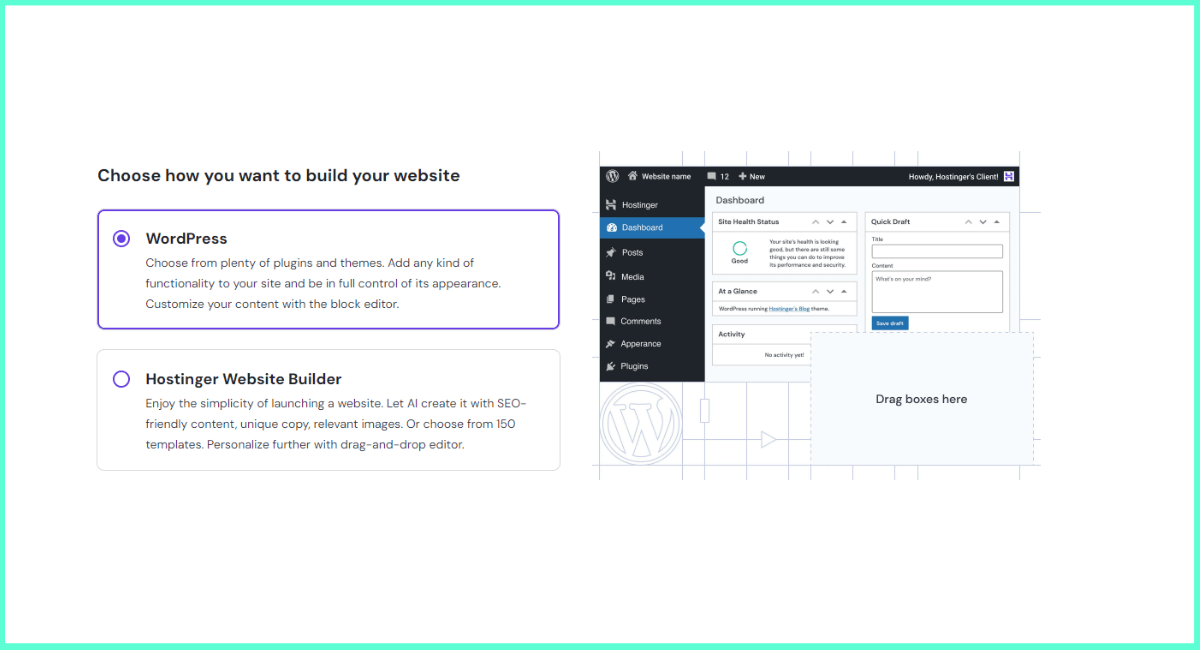
2. Set Up Your Website: Hostinger offers a variety of tools to help you get your website up and running:
- Website Builder: If you’re using Hostinger’s website builder, you can start creating your website immediately by selecting a template and customizing it with the drag-and-drop editor.
- One-Click Installations: For users looking to install popular CMS platforms like WordPress, Joomla, or Drupal, Hostinger provides one-click installation through the hPanel. Simply select the application you want to install, follow the prompts, and your site will be set up in minutes.
- File Manager and FTP Access: If you prefer to upload your own files, you can use the built-in file manager or FTP access to transfer your website files to the server.

Ease of Use:
Hostinger’s interface is designed with beginners in mind but is powerful enough for experienced users. Key aspects include:
- User-Friendly hPanel: Hostinger’s custom hPanel is more intuitive than the traditional cPanel, making it easier for new users to manage their websites, domains, and emails.
- Guided Setup: The platform provides guided steps and helpful tips throughout the setup process, ensuring that even those without technical knowledge can get their website online quickly.
- Support Resources: Hostinger offers extensive tutorials, a knowledge base, and 24/7 customer support to assist with any issues during setup.

Overall, Hostinger’s sign-up and setup process is designed to be quick, simple, and accessible to users of all levels. With its intuitive hPanel, guided setup steps, and a wealth of support resources, getting your website up and running has never been easier. Whether you’re a beginner creating your first website or an experienced developer managing multiple sites, Hostinger provides the tools and support you need to succeed.
Ready to get started? Click the button below to sign up with Hostinger today and take the first step towards building your online presence!
Are you wondering how Hostinger compares to the competition? Check out our review here.


